The blip is back!

After a couple of rides, here’s the verdict on the Oxford Adventure heated grips – utterly Fantastic! Not only are they awesome in their toastiness, they really do help my old wrist as well. The extra diameter and better texture compared to the Ariete grips is lovely!

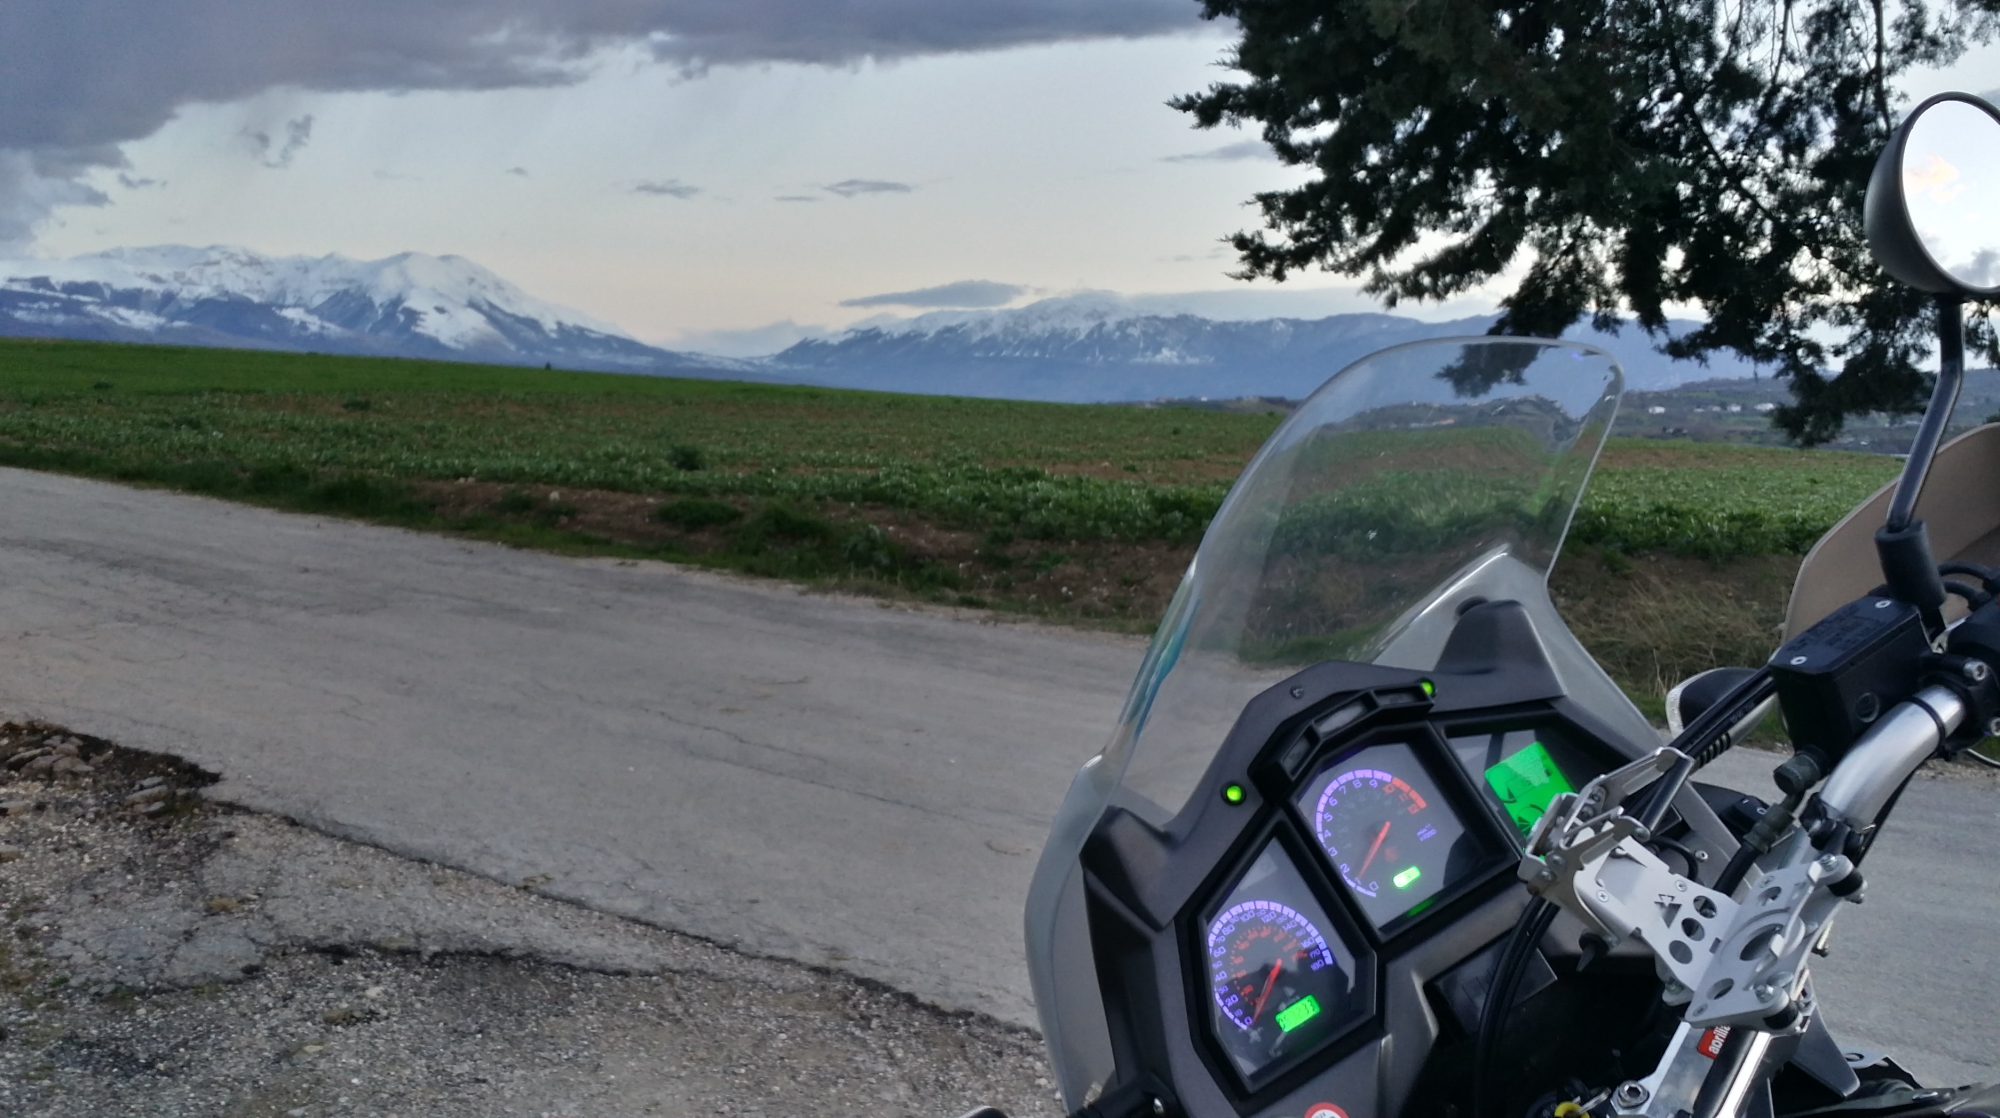
One thing lacking in my riding over the last few months has been blip-ability, the quick tweek of the wrist to grab a few revs … almost every downshift became a novice-style, crunchy-clunky affair, blips either non-existent or late. The head was doing the throttle blippy thing but the wonky wrist just couldn’t or wouldn’t play ball. Fair to say my blip-mojo was lost in sore tendons and swollen joints.

Now with fatter grips I’m chuffed to say my blip-mojo is back with a vengeance, sharp, snappy downshifts complemented with slick as Slick-50 on Teflon clutchless up-shifts as we slice through bend after hairpin bend. If the grin got any wider I’m sure the top of head would have fallen right off. At last, me and the gearbox are best mates again!

But that’s only half of it – These things work superbly as HEATED grips as well! With the days now struggling to reach 10-12C and wearing summer gloves, it takes but a couple of minutes at 100%, then swiftly backing the heat down to 40% before my fingers catch fire! That’s way better than the Aprilia grips ever performed. I do wonder if a big part of the Aprilia grips poor performance was not only down to the high-resistance heaters, but also the feeble wiring to the grips. I swear that stuff is rated to little more than 5 Amps, maybe 8 Amps on a good day with the wind behind it! Either way, they’re history now after a sterling 9 years service and I’m looking forward to seeing how well the Oxford grips last. Bring on a January ride through Switzerland ……. 😯 

3D speedo sensor revisited

Aprilia Caponord ETV1000 Rally-Raid 3D printed Speedometer sensor AP8124985 1GP7001 HoneywellYesterday I was asked about the 3D printed speedo sensor case and I couldn’t believe that it’s been almost six months since last mentioning it and about nine months since fitting it. So how is it holding up? Well just fine and dandy thanks for asking!

So far, It’s been through a long 40C summer and some damn cold nights of recent. Heavy rain and a decent shake down over something like 12,000 miles including some off-road, add up to a pretty good trial all-in-all. The plastic is holding up nicely with no signs of cracks, warping or sun-fade, so it looks like the Color-Fabb nGen material is a good choice for use on the Capo and that is backed up by the frame bungs I made last year – all as good as the day they were fitted.

I’ve put a pdf drawing of the main body in the CAD/3D downloads area so you’ve some idea of the dimensions of the speedo sensor. Fitting a sensor from an alternative Aprilia is of course an option, the only real issue being the tight bend in the cable to make it fit, not particularly nice, but functional I guess. Also, is the cable long enough and does it have the right connector? I’ve no idea. Some may want to go with a different sensor altogether, fine in principle as long as it uses the same voltage/current range and the signal is compatible with the dashboard. then of course you have to make it fit, hopefully the drawing will help a little here as it gives depth, diameter and mounting hole location for comparison. Again there is the issue of cable length and connector …….

Aprilia Caponord ETV1000 Rally-Raid 3D printed Speedometer sensor AP8124985 1GP7001 HoneywellJust a word of caution though, the standard sensor is a snug fit in the caliper mount and cannot in any way move into the wheel. Can the same be said of an aftermarket sensor and its modified fitment? The consequences of something possibly working loose and jamming the back wheel don’t bear thinking about!

Of course I went for a third option, 3D printing. I’d originally thought of the case as reusable, but in the end, given the few pennies it costs to print I made it a semi-sealed item. The sensor is installed with sealant and after soldering the wires in place, the cap is also back filled with sealant and screwed into place. If and when it fails, I’ll just remove reusable bits (boot, screws etc) and print/assemble another one. Total cost (sensor, case, screws, wire, boot & connector) came in under £30 – Granted about the same as some RSV/SL sensors on ebay …. but that’s new not second-hand!

While the tank was off ……

Aprilia Caponord ETV1000 Rally-Raid fuel pump harness (AP8124664) connector SupersealI finally got around to changing out the open-to-air 4-way connector that feeds the fuel pump and fuel level sensor. In went a nice 4-way Superseal (14A rated) with the connectors crimped, soldered and given a light coat of dielectric grease before sliding home into the waterproof housing.

Hopefully no more erratic fuel level due to oxidation on the pins! While I was at it I pulled the spare fuel pump harness (AP8124664) out of its bag and changed its connector as well. I’d look mighty foolish if I’d pulled that out of my spares kit at the roadside and the connectors didn’t match!

Aprilia Caponord ETV1000 Rally-Raid fuel pump harness (AP8124664) connector SupersealWhile under the hood, I noticed that the outer coat of the fuel return line (marine-grade ISO 7840 A1) is showing signs of deterioration and kinking near the swaged end at the fuel tank. I’d noticed it back in September, but unfortunately it appears to be a little worse now. Time then to order a new cLCD 170-04 1/4″ barbed quick release connector from Tom Parker (UK) along with suitable Oetiker clamps – I’ll only use clamps that need to be crimped, never ones with screws that can work loose. I’ve no problem doing the return hoses myself, but when it comes to the high pressure side, I leave it to the professionals. Last time that was MF Hydraulics in Oxford and I’ll be happy to use them again come the day.

Aprilia Caponord ETV1000 Rally-Raid fuel pump return line hoseThe marine hose has lasted well (9 years) and that’s to be expected given that hose for marine applications has to meet very strict guidelines, however I think hose rated at SAEJ30R9 with its improved impermeability and tolerance to Ethanol is probably better suited on the Capo nowadays. Either way I wouldn’t lose any sleep over it! The high pressure line and main return line are holding up just fine with no sign of wear or deterioration.

Fitting the Oxford Adventure heated grips

I figured it would be a good time to take the Capo off the road and replace the heated grips when it next rained …… and oh boy is it raining! 48Hrs now and another 24 to go if the met folk are to be believed. Plenty of time then to get the deed done, with a hot brew and cold beer somewhere along the way.

This morning I spent a good hour doing a detailed write-up, only to realise that quite frankly it would bore you to tears …… fitting the Oxford Adventure heated grips is nicely covered in the enclosed instructions and on umpteen websites and no doubt a zillion YouTube video’s. What YOU need is the specific details and issues relevant to fitting them to Rally-Raid biconical handlebars – more specifically, Rally-Raid bars that already have Aprilia heated grips fitted, so here goes.

Aprilia Caponord ETV1000 Rally-Raid Oxford Adventure heated grips OF690The left-hand one is a doddle. The Aprilia grip is held on by two screws and no adhesive, so it simple slides off once all the relevent bit’s and bobs have been removed first. The right hand one is a different matter though. For this one I had to cut off the rubber grip, peel off the old heater element and then cut/Dremel the large plastic disk (switch-gear end) and raised ridge (bar-end weight end) to make one continuous 26mm diameter smooth tube.

Now the Oxford Adventure grips are 132mm long (can be cut down to 122mm) and I fitted them untrimmed, but that does mean that spacers are then required for the bar-end weight mounts to fit properly and not foul anything. For the left hand side this is 1.5mm thick (22mm OD, 18mm ID). However the right-hand is a different story. This needs the original Aprilia 3mm spacer replaced with a 7mm one – same OD and ID as the left one. But with this in place, the amount of lost thread on the mounting is  now a bit worrying, so I drew up a Aprilia Caponord ETV1000 Rally-Raid new handlebar mounts for bar-end weightsreplacement mounting in CAD and will get a local machine shop to knock a couple up. Meanwhile a 3D printed spacer is in place and works fine for now.

So now they’re on and look good and they feel great, no more finger tips pushing into the back of my palm with summer gloves on and I swear my wrist is already thanking me for the reduced torque on the throttle. All that’s left to do now is install the controller and wire everything up ….. just follow the instructions in the box!

Why not just cut the grips down I hear you cry. Well to me, cut down grips look just that – cut down. They lose the raised ridge at the end and scream out butchered! Besides it’s bloody hard to get a perfect cut, it always seems to go wibbly-wobbly somewhere. Not only that, but I wanted the extra width to make using winter gloves more comfortable. The original grips (and Ariete) are just too narrow (107mm usable) to be comfortable with my BKS winter gloves, leaving Mr Pinky out on his lonesome on the bar-end weight! Now the whole finger-family can be snug and warm on the extra width the Oxford grips give.

UPDATE – The whole kit is now in and working a treat, and boy are they toasty compared to the Aprilia ones! If I have one issue with them, it’s the length of the wires ….. I found that the wiring provided isn’t exactly generous and needed very careful routing to make sure the three connectors could sit comfortably behind the headlight and the main loom then reach back to the battery. Given that they are sold as ‘Adventure’ grips, am I cynical for thinking they might be aimed at adventure style bikes with higher/wider handlebars etc? Come on Oxford, a few extra inches of cable on the looms won’t break the bank surely!


No1 component that fails on a dashboard…..

Yes, today I’m dishing the dirt on the number one bad-boy component on the Caponord and Futura dashboard. Or more to the point, why this sad little part earns this unwanted reputation! What is it? Well it’s a rather innocuous SMD radial electrolytic capacitor rated at 16V 47µF.

Over the past couple of years, I’d say that 70% of contacts via the website have involved this component in one way or another …. and that percentage is steadily increasing! Why? Simply because of the constant and unstoppable tick-tock passage of time. Unlike most electronic components, electrolytic capacitors have a given life span based firmly on operating temperature and duration. What does it do? In a nutshell, it smooths out the 5V DC power rail … without it the rail contains a nasty AC component and that really upsets the microcontroller!

First I want to look at the symptoms this little guy causes when it begins to shuffle off to the electronic afterlife:

  • Dashboard dead except for Oil, Neutral and Side-Stand LED’s – Especially when cold.
  • After sitting in the sun or being heated during a ride-out, it may spring into life, or flicker on and off rapidly. This is the clincher!

Of course, to be 100% sure, we have to get down to the circuit board and identify the component first:

Aprilia Caponord ETV1000 & Futura RST1000 dashboard capacitorSo there it is, just to the left of the voltage regulator chip. Now I’m sure the eagle-eyed amongst you will have noticed that there is a similar (in fact identical) component to the right of the regulator …… why is only the one on the left a problem then?

Well the dashboard has two regulators in the one package, supplying two independent 5V power rails. One is powered permanently from the minute a battery is installed in the bike, the other only operates when the ignition is switched on. And there lies the answer to the question …… lets punch in some numbers. For the sake of argument, we’ve got a Capo that has done 5,000 miles in a year and averaged 50mph.

  • 5,000 miles / 50mph = 100 operating  hours for the right hand (switched) capacitor.
  • 365 days * 24hrs a day = 8,760 operating hours for the left hand (permanent) capacitor.
  • Now lets assume 10 years have passed …. now we have 1,000 / 87,600 operating hours respectively!

And there is the bottom line. After 10 – 16 years on the bike, the left hand capacitor is simply reaching the end of its working life long before its companion on the other power rail, and with each passing year more are failing …. It’s not a case of ‘if’ folks, it’s a simple matter of when!

Replacement is straight forward and has been done by quite a few owners over the years, but like most things, it requires a certain level of skill and experience along with the right tools for the job ….. without these, there is a very real possibility of damaging the tracks or adjacent components and making the board worse than when you started. You have been warned!

Hot Grips, Grip Puppies or Hot Puppies?

Hot on the heels of the last post, here we go again, with the next little problem to work on. It looks like the bad wrist isn’t going to recover much more now without an operation, and Dog knows when that’ll happen. So I’ve been pondering how to reduce the load (torque) my poor old wrist feels at the twist grip.

It seems to me there are two ways to do this ….. firstly, increase the diameter of the twist grip to get more leverage, the second is to replace the cam at the throttle body to do the same job (more on this later) – or maybe a combination of the two! So let’s look at the first option.

The Aprilia heated grips (with replacement Ariete grip rubbers) are 32.8mm diameter and probably the cheapest and easiest way to increase this would be to simply fit a set of Grip Puppies. But the fact is the Aprilia heated grips are quite poor when it comes to output. The 13Ω elements are really only any good for chilly Spring, Summer and Autumn mornings and certainly don’t do much on a freezing Winters day in the UK. So I started to hunt around for a better heated grip with more power. In the end I opted for a set of Oxford Products Premium Adventure grips (OF690).

These grips are approx. 35mm diameter, so that’s one box ticked, and they have heater elements averaging approx. 7Ω …… that’s almost half the resistance and will mean twice the output. The grips are 132mm long and can be trimmed if necessary down to 122mm, so fit shouldn’t be an issue.

The heat adjustment is in five steps (30%, 40%, 50%, 75% and 100%) using PWM (Pulse Wave Modulation). In other words, a microcontroller turns the power on for a certain percentage of the 1.3 second cycle ….. so 75% output means the grips are on for approx. 0.975 seconds, then turned off for 0.325 seconds – total 1.3 seconds – then the cycle repeats itself. Now this is all well and good but they really missed the mark to my mind. Microcontrollers are great little gadgets and can be programmed for all sorts of things and as far as these grips go, they only scratched the surface. First off, when you turn off the grips they turn back on at the default 30% or 100% if you hold the button down – NEVER at the last setting you may have been using*. Secondly, a rapid warm up would have been nice, say 100% for 2 minutes at start-up, then back to your last used setting ….. but none of this is programmed in on the OF690.

In fact isn’t it about time grips came with temperature sensors in-built? Think about it ….. set the desired heat and ride along happy as larry with toasty fingers on a bitter winters day. Stop for a minute and take your hand off the grip and it now cools rapidly – the cooling temp sensor feeds back to the controller, which now ramps up the output to try and restore the grip temp back to that desired. You then plonk your size 10 winter mitt back on the well heated grip, and now the grip is insulated the system reduces power to maintain the temperature. And it goes without saying that both grips should do this independently!

Anyway I digress, the whole point is that the new grips will give me a welcome increase in diameter, even then I have the option to add Grip Puppies over the top but I think this might be overkill! But who knows ……

Next post I’ll look at the pro’s and con’s of changing the cam at the throttle body to achieve a reduced torque at the twist-grip.

*This function along with 9 heat settings instead of 5 is available on the Hotgrips Advanced Adventure UK SPECIFIC (EL690UK). Why didn’t I buy these? Simply because I got the OF690 set for £30 cheaper! 😀 

Who’s bright idea was this?

Range Rover P38 and a littel under bonnet fire!I bet you thought I’d run away with the circus it’s been so long since I posted anything!

Well in fact I’ve been rather preoccupied with other stuff of late ….. bad wrist, car barbecuing itself at the side of the A14 Adriatic (autostrada) motorway and getting a shiny new job (and car!). But more about all that another day. For now though it’s upwards and onwards with the fitting of a new toy for the Capo, or should I say toys … there are more posts to come about fatter/heated grips and reducing the torque on the twist grip for my wonky wrist!

A pair of X2 H4 (Hi/Lo) Sealight LED units in the headlights. These were recommended by Ravenranger over on the Aprilia AF1 forum and for a splash under £40 a pair (delivered) in the UK, I decided to take a punt. A neat and simple kit with bulb/box/plug connected by cables – just the right length for the Capo which is nice. Double sided Scotch 3M pads and some cable ties to mount the box’s out of the way complete the parts list. They’re rated at 12-24V and an output of 4,000lm (hmmm really?) and apparently fully waterproof, even the cooling fan.

I found fitting them really easy, hardly any worse than changing a standard bulb. All rubber seals and panels fit straight back into place as well. The little boxes were attached to the back of the headlamp shell with the double-sided sticky pads and it was all reassembled no problem.

NOTE: Look at the pics of the locking ring and bulb, two lugs 180º apart. The lamp can be fitted upside down if you’re not careful! Don’t ask me how I know this …. just be careful to check which way up the lamp is when clicking it into place.

Measured current draw on fuse A is:

Dip beam:     Halogen  8.35A   ( 53.4W * 2 )   LED  4.9A  ( 31.4W * 2 )

Main beam: Halogen  9.6A      ( 61.4W * 2 )   LED  4.9A   ( 31.4W * 2 )

So a saving of approx. 3.45A on dip and 4.7A on main. As you would expect, the light is a very bright white that made the existing halogen look dull and yellow in comparison add to that the very rapid turn-on and switch between dip/main and you certainly know it has LED’s installed!

But of course, this is all academic if the light pattern is junk! Night couldn’t arrive quick enough for me to get out to the barn and have a good look – low beam cut-off and high beam spread being paramount. Well I have to say that initial impressions are excellent. In the pitch-black of the Abruzzo evening the dip showed a nice crisp cut-off line and distinctive kick up to the left of a UK headlamp …… flick to main and the olive grove over the road practically burst into day light – OK, not quite! But bright enough to be surprised at just how decent these things appear to be. So far so good. I’m impressed enough to want to go get kitted up and hit the road rather than head for the tool kit and swap back, which is a damn fine start in my books. The weather looks nice for the next couple of evenings so I’ll dig out the INNOVV C5 and see if I can get a bit of night-time video!


INNOVV C5 – New remote head (snake) camera

Aprilia Caponord ETV1000 Rally-Raid INNOVV C5 camera system HD Wi-FiThe INNOVV website has just been updated with the details of the new C5 full-HD remote head camera system. I’ve been beta-testing a pre-production one for a few weeks now and have to say it’s a neat and waterproof system that has excellent image quality. Communication is via a smartphone app (Wi-Fi not Bluetooth) with outstanding ‘live-view’ ability.

It records in 1080@30fps and 720@30 & 60fps, has an internal battery for independent operation, park mode, an internal microphone and a socket for a remote microphone. The recording unit is small and lightweight and because it’s waterproof, can be mounted just about anywhere on a motorcycle.

Anyway, enough for now ….. pop over to the INNOVV website for more information and later on, once I’m done beta testing I’ll post up a review. At the moment I’m especially keen to see how the C5 and K1 video quality compares – day or night – so the Capo’s getting plenty of use! Here is a picture of the recording unit ………… remember, this is  a PRE-production model, so the one for sale may look a little different, especially the final body colour.

Aprilia Caponord ETV1000 Rally-Raid INNOVV C5 remote head HD camera

Replacing the regulator – FH012 to FH008

Aprilia Caponord ETV1000 Rally-Raid Shindengen FH008 FH012 rectifier regulatorWhen it comes to electrics/electronics, we are all oh-so familiar with the fact that for the most part, things either work or don’t. But occasionally we get the mighty frustrating intermittent fault that dances between the two, then we also get the rare as hens teeth, slow failure. The one that takes an absolute age to travel from 100% working to finally broken, the kind of behaviour more befitting a mechanical part than electrical. Well that’s what I’ve just had!

Back in August of 2010 I fitted the Shindengen FH012 rectifier / regulator and I think it’s fair to say that it began its slow decline within a couple of years. The once steady 14.2V at 4,000rpm slowly ebbed away, a few millivolts here, a few millivolts there, year on year. By last autumn the charging circuit was giving me about 13.6V (idle) and 13.9V at motorway speeds.

After the incident with the stuck starter solenoid a couple of weeks ago, it seemed to shave off another 0.1-0.2V. On the return leg of our trip the Sparkbright battery monitor would dip from green (OK) to amber (not OK!) when the fan cut in …… such that I was turning the headlights off when we hit slow traffic in order to keep the thing charging.

Each year I’d checked the alternator, wiring, connectors and battery and everything tested just fine …… so was it the regulator? Time would tell I figured! In January I bagged a brand new Shindengen FH008 but hadn’t got around (galloping laziness!) to trying it out. So before the main Aprilia Caponord ETV1000 Rally-Raid Shindengen FH012 rectifier regulator
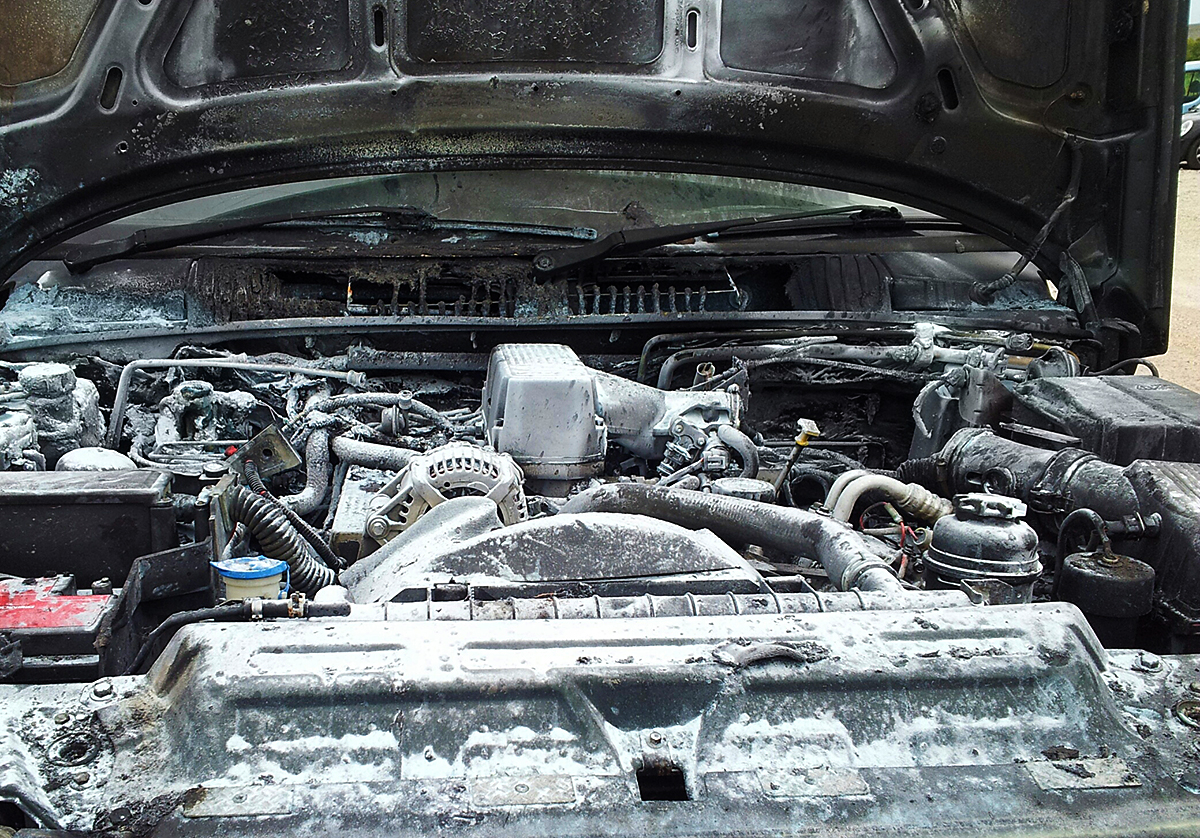
power/ground cables were replaced it seemed only fit and proper to test the new regulator, then decide what to do about sorting the charging system.

The quickest test was to simply crimp some spades on the FH008 leads and plug them directly into the Furukawa sockets on the charging loom and see what happened – 14.4V (idle) and 14.5V at 4,000rpm is what happened! Most definitely the regulator rather than the alternator or wiring then.

The old loom was removed and inspected – all still in excellent condition. Even so, new cables, connectors and sheathing were ordered from the original suppliers and in went the FH008, back in the original location. With the bike buttoned up and a healthy voltage at the battery, it just left a moment for my eye to linger on the right hand side of the bike. Somehow it looks odd, naked, empty without the old rec/reg in front of the clutch, I’ll get used to it I know, but for now I do miss it!

Measured voltage at battery:

Idle (lights / fan OFF)  – 14.4V  and at 4K – 14.5V

Idle (lights ON + fog lights ON) – 14.3V and at 4K – 14.4V

Idle (lights / fan ON) – 13.9V and at 4K – 14.2V

Idle(lights / fan / fog lights + everything else* ON) – 12.8V and at 4K – 13.6V

* GPS / Intercom / K1 Camera / Heated Grips (high) / Cruise Control / brake lights


3D printed speedo sensor case

With all the other stuff going on recently, I almost forgot to mention that the run across the continent was a great make-or-break test for the 3D printed speedo sensor case! Works a treat and even if I say so myself, it looks way better than the original! 😀 

Aprilia Caponord ETV1000 Rally-Raid 3D printed speedo sensor case & Honeywell 1GP7005 sensor - replaces AP8124985Although it’s working brilliantly, I’ll modify the design of the cap to give a little extra room inside for wiring up …… and rotate the lion’s head so it’s horizontal,  ya can’t beat a bit of OCD!