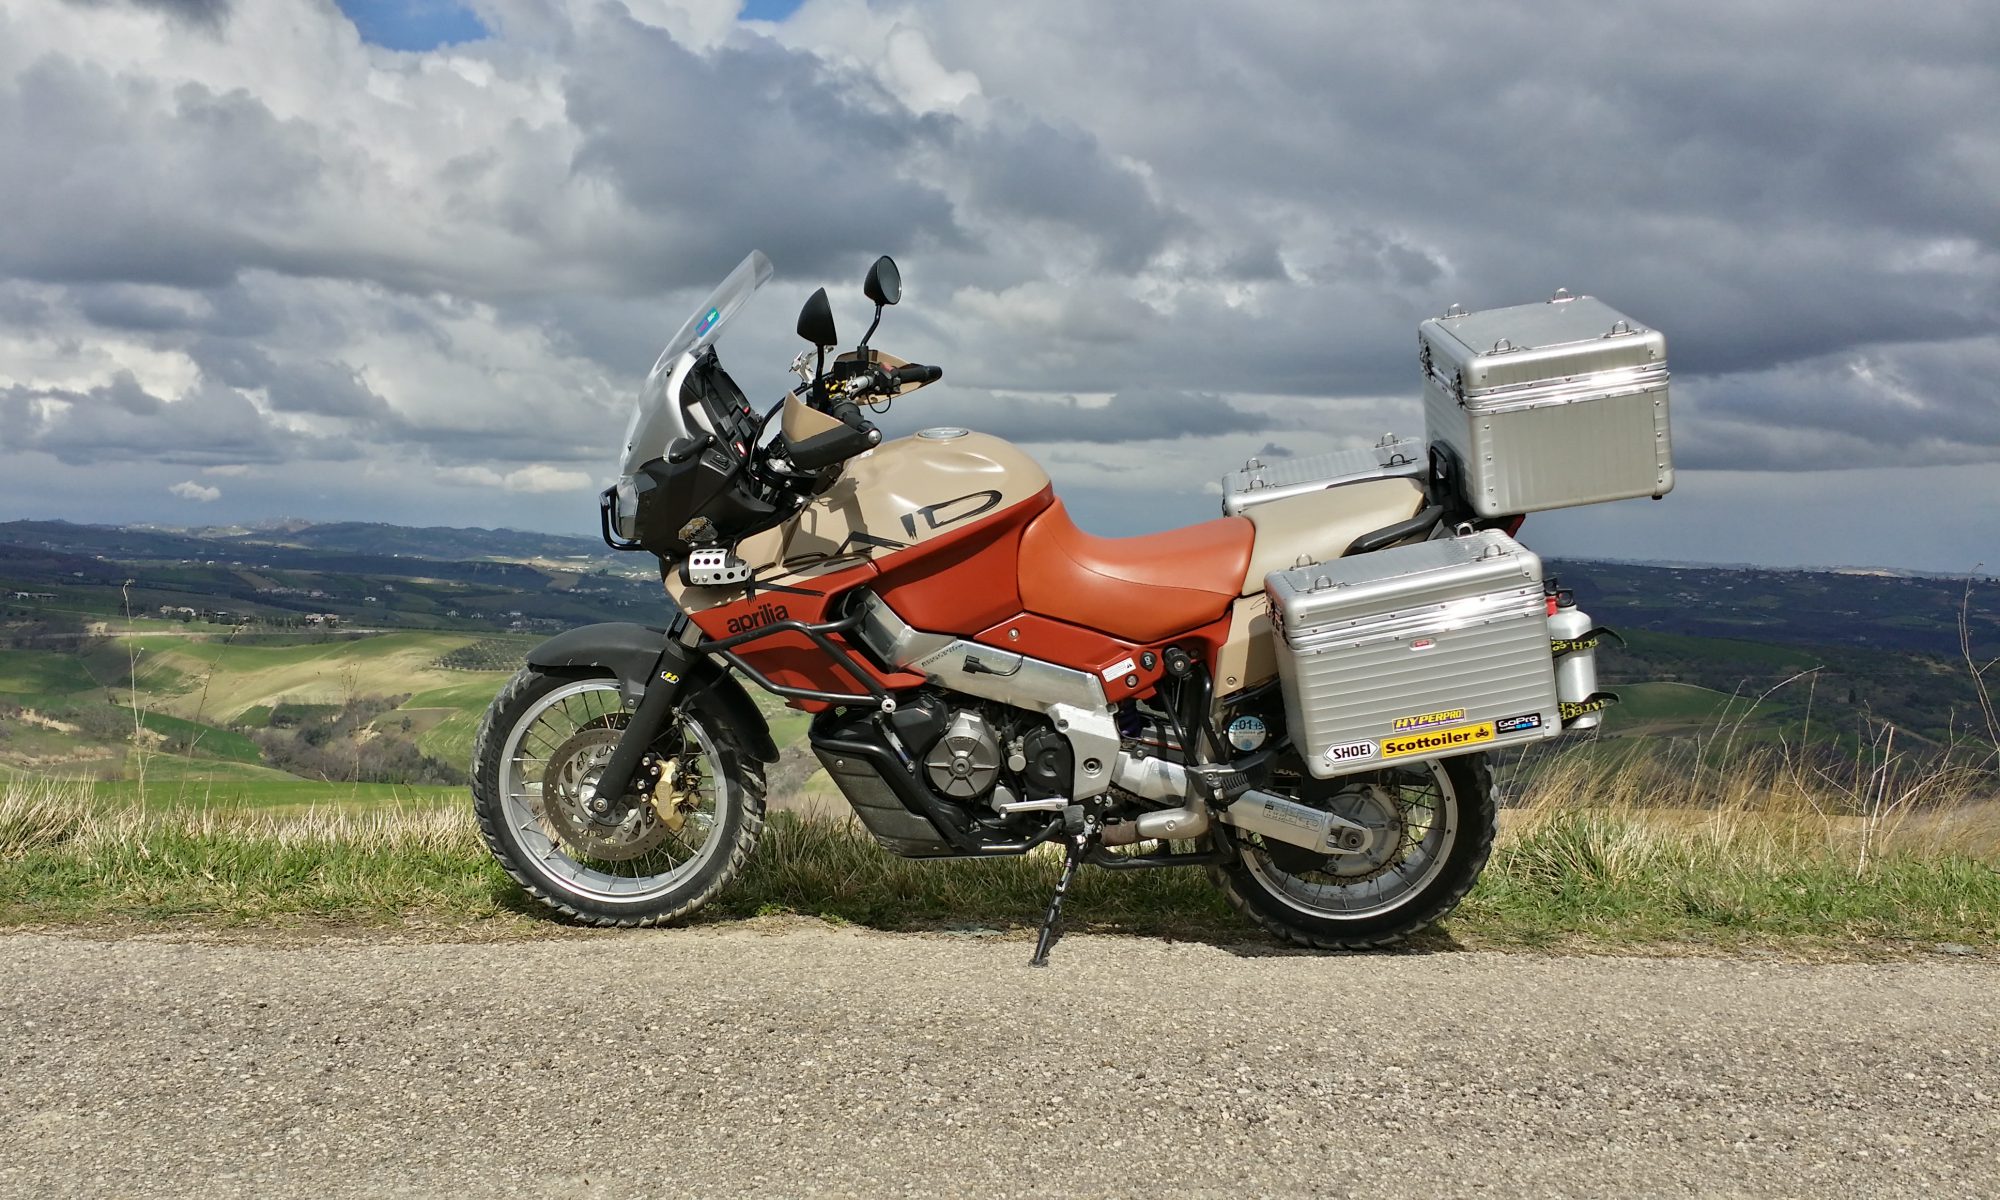
 The youngest Capo dashboards are about 10 years old now, maybe a little older, while the majority including the Futura are knocking on 14 to 16 years old. Every board that I see these days has very poor light output on the Blue LED’s and signs of UV damage to some degree in the lens. Most worrying though is the marked increase in the number now showing UV damage to the large LCD panel.
LED’s of course can be replaced, so can the lens if you can stomach the €60 (Wendel Motorräder) or £52 (Fowlers UK) and have plenty of patience while you wait an eternity for it to magically appear. However the LCD panel is a different matter, you’ll need to find a damaged/unserviceable dashboard you can rob or replace the dashboard in its entirety as these parts are unobtainable and were never sold as spares by Aprilia anyway.
 For quite a while now I’ve taken to slinging an old t-shirt over the dash when parked up in an effort to offer it some respite from the elements. Not perfect I know! So a while back it got me thinking about knocking something up on the 3D printer – and here they are. Three panels, 4mm thick with the underside recessed 1.5mm to keep it well away from the lens. A groove runs around the edge to take the same 3mm diameter neoprene seal material (AP8120615) as used between upper and lower airbox halves, so only a thin strip of soft seal actually makes contact with the lens.
 If these turn out to be half-way useful, I might treat them to a layer of Zircoflex heat shield material and replace the flagging heat shield material on the plastic panels over the silencers at the same time!
 Yes I admit it here and now, I’m doing a U-turn – a full 180° – and
  happened without the dashboard repair service. This year I opened the card and felt a twinge of regret, uneasiness, a sense that a decision I was making was the wrong one. The bottom line is that I would miss the emails/calls and involvement if I stopped something that I’ve been involved with since the beginning of unravelling the dashboard circuits.


