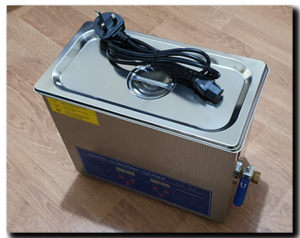
A bit of feedback on my first outing with the sparklingly shiny new 6 litre ultrasonic cleaning bath, the highlights and lowdown’s. First off, here’s my simple bullet point list to get things going:
- Be patient!
- Fill with pre-heated plain water or whatever your preferred cleaner pre-mix is
- Be prepared to help the cleaning process along with a soft brush etc
- Let it do its thing in peace – wear earplugs or get out!
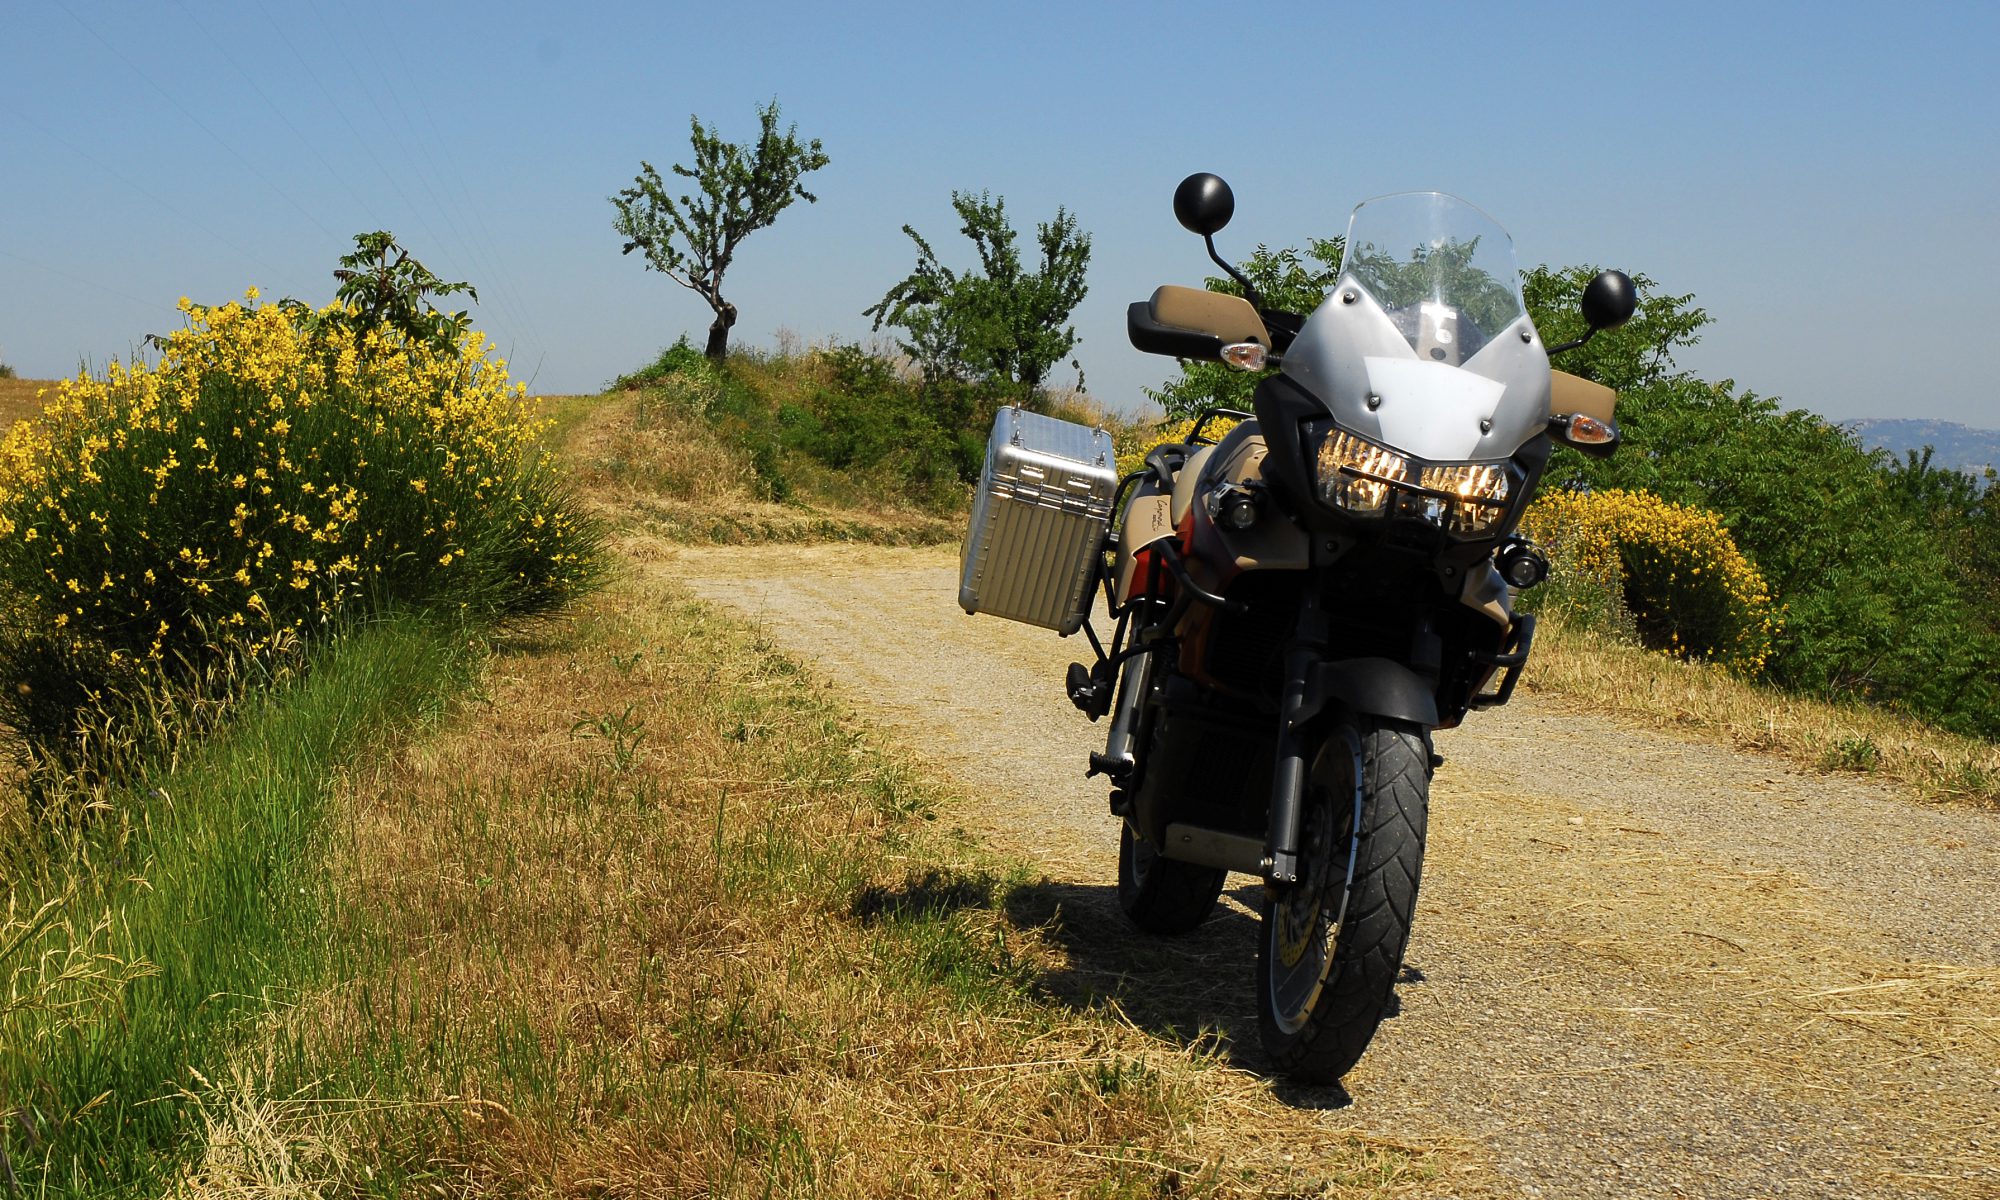
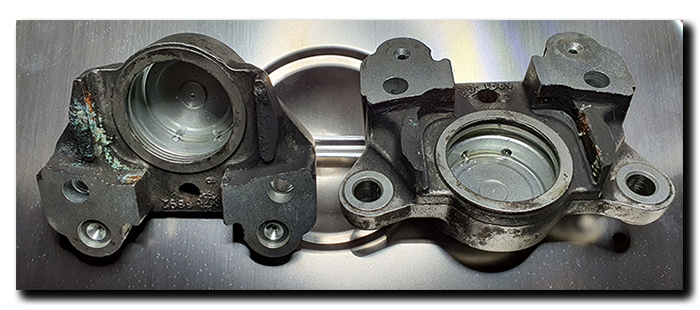
That’s it in a nutshell! YouTube video’s make it look like you’ll clean a 50 year old gunked up prop-shaft in two minutes – wrong! Not in a domestic cleaner you won’t. I used a mix of (so called) ultrasonic bath solution diluted 10:1 as specified. I made the mistake of filling the tank from cold believing the in-built ‘heater’ would do the business … well it does after a fashion, but oh so slowly. It would have taken about 2-3 hours to go from 13ºC to 50ºC – so I boiled the kettle in the end and made up a solution that was almost at the required temperature, so no wasted time waiting around! The old rear caliper was dug out of the parts store and stripped down. It came off the Capo back in January 2013 with about 40K miles on it and had simply been boxed and hidden away, unfortunately since it’s return to the UK it looks like damp had got in and caused some corrosion. Luckily this was confined to where the pads sit and nowhere else, thankfully the pistons and seals came apart beautifully.
So time for a quick pic, then into the bath!
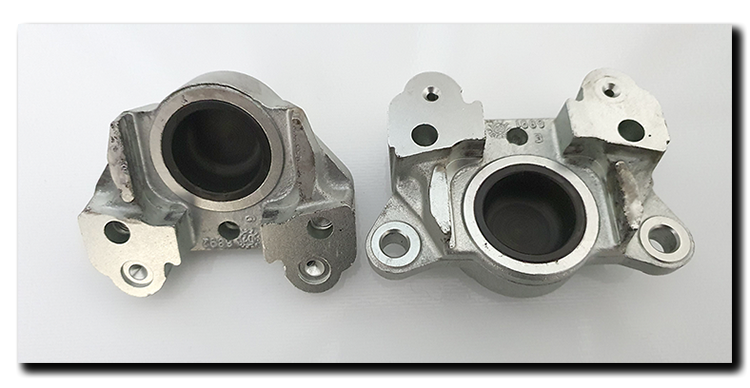
Initially I ran it for five minutes, unsure of how aggressive the solution/ultrasonic cleaning action would be. The solution was noticeably discoloured, but the calipers looked hardly touched. So in they went for another ten minutes. They looked much better this time … so in for another ten minutes. One half was now almost perfect, but the other needed two minutes of TLC from a rotary brush, then they went back in for a final 10 minutes. Hence, be patient and be prepared to give the process a helping hand!
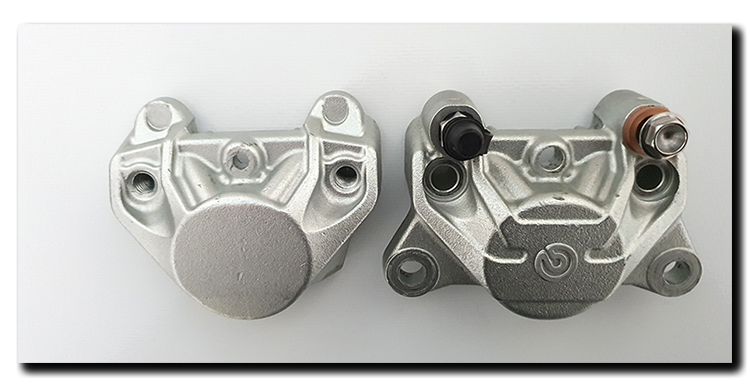
In the end, as the saying goes, all good things come to those who wait:
It only remains to mention my final bullet point. Initially I sat about 6ft(2m) away from the bath while it was running, the noise is not pleasant but bearable or so I thought. After about five minutes I started to feel a little nauseous. The lid was on and it was operating in a well ventilated area, so I didn’t think it was fumes from the cleaning solution, so figured it was exposure to sound I COULDN’T hear – it is an ultrasonic cleaner after all! In the end I left it to do its thing and sulked at the far end of the workshop and within a few minutes felt better again. The unit doesn’t come with any warnings beyond electrocution (lots of them!) … so be careful folks and don’t stay too close when it’s operating!
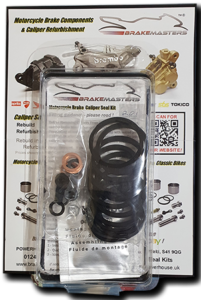
Conclusion – I’m happy with the results bearing in mind that the caliper was well used and had suffered in storage. Now it is resplendent with new seals, a light wipe over with ACF50 and new home in a Zip bag and a better box. I’m really looking forward to using this cleaner on the triple bridge Brembo calipers and that may well be sooner rather than later, as Mr Postman has just this minute delivered the new brake lines and banjos from Venhill, wahoo!!!
