Dimmer and dimmer

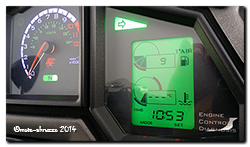
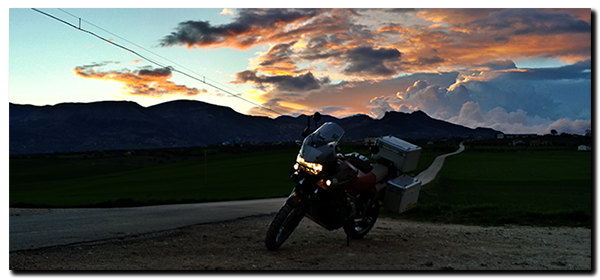
Aprilia Caponord ETV1000 Rally-Raid Evening over the Gran Sasso ....I switched on the fog-lights to better illuminate the mud and stone strewn road ahead; when it dawned on me that I hadn’t taken the Capo out in the dark for ages, months  probably. And here I was winding a path along our troubled road and hopefully onward for a nice little night-time ride all in the name of testing the auto-dimming backlighting!

After getting the set-up working nicely with the old thumb-over-the-sensor routine, it was time to take the old girl out for a spin and see what the illumination was like both in unlit rural and street-lit urban riding. I took the netbook and cable along so that changes to the code could hopefully be done at the roadside.
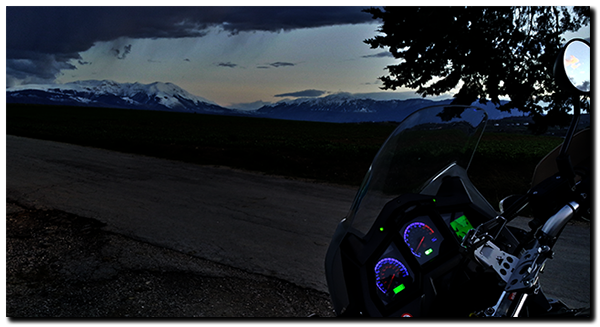
Aprilia Caponord ETV1000 Rally-Raid .... and over the Maiella.In the end I was really pleased with how the lighting worked anyway, the only change I made was to the minimum brightness – dropping it slightly – so that it’s totally readable without putting stress on my tender night-time vision. Daytime backlighting is, as you would expect fully-on at 100% while the night-time drops to 30%, which with the higher output LED’s (blue & green) is just about spot on.

But ……

And there’s  always a ‘but’ …… the two LED’s in the binnacle (Autoswitch & Battery monitor) now stand out as being overly bright compared to the dashboard at night, so, time to work out how to take these signals and pass them through the Arduino and subject them to the auto-dimming code as well, then the whole cockpit area will be sorted at last!  😉
Saddle up and ride out …..

No hour of life is wasted
that is spent in the saddle.
                                     Winston Churchill
 

Bless him I never had old Winnie down as a biker, but hey if the cap fits …… 😀

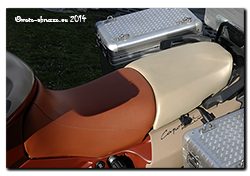
Yes the humble saddle, that piece of plastic/metal and foam that can feel like an armchair or a razor blade, or in fact morph from one to the other over the duration of a few hours or minutes depending on the bike! To be fair the Rally-Raid seat is pretty good, if anything just a bit soft for my weight and could probably benefit from a stiffer foam to stop me sinking into it and putting too much weight on the old coccyx.

After 11 years of wear and tear I was thinking about getting them recovered/padded but didn’t much fancy being without the bike for several weeks while the job was done – step into the limelight Stanleybobly, who just happened to pop-up on the AF1 radar with a near-new set of Raid saddles for a painfully decent price. It would have been plain rude not to have bought them!

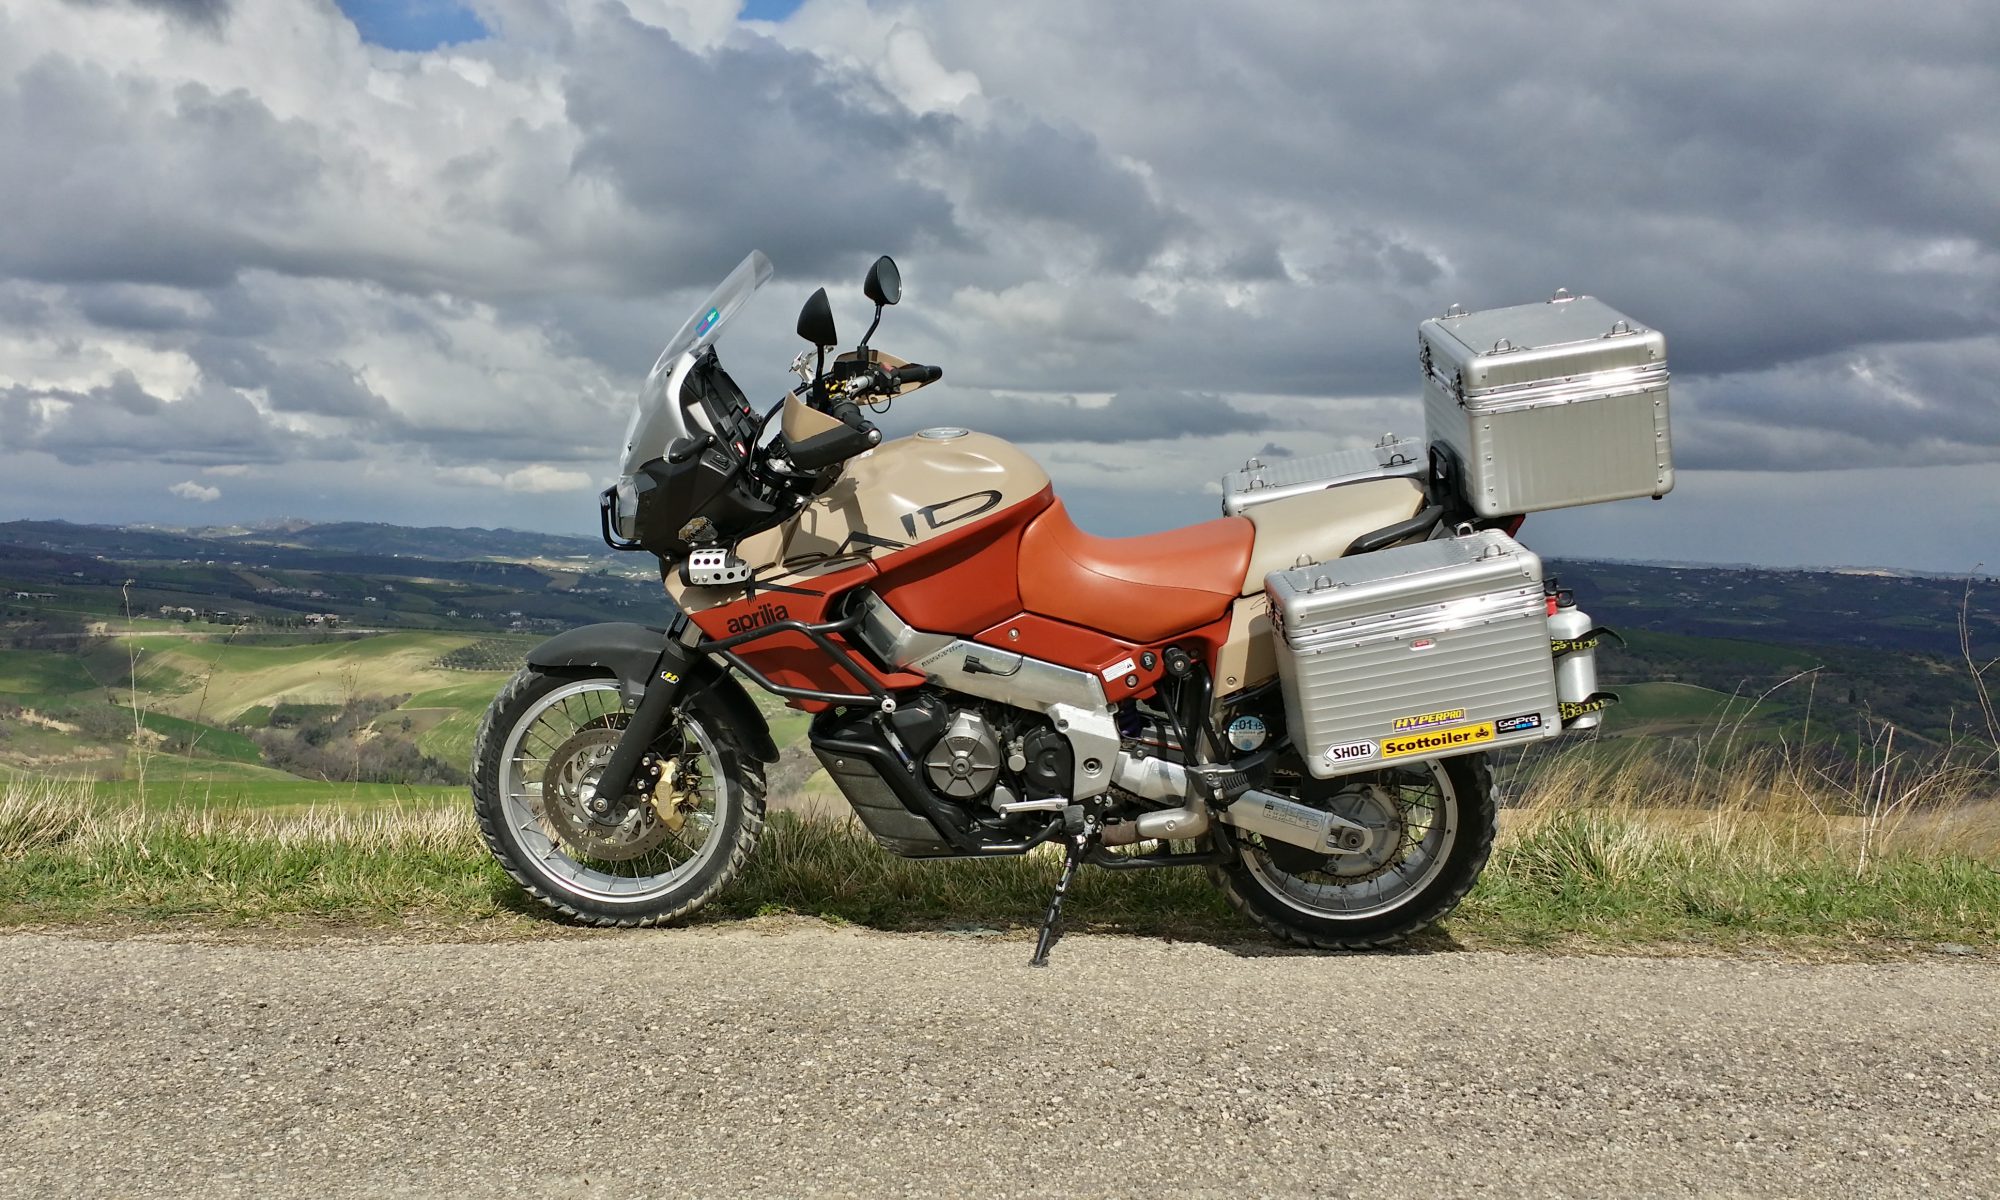
Aprilia Caponord ETV1000 Rally-Raid. Doesn't she look splendid with new saddles!So now the Capo has a spanking new pair of saddles and I can work out where I want to send/take the old ones for refurb at my leisure – any advice about UK upholsterers always appreciated.

…… and thanks again to Stanley for selling them to me! 😉

On the right wavelength? (Part 1)

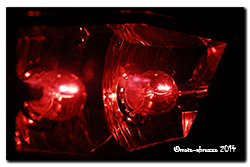
Aprilia Caponord ETV1000 Rally-Raid. Tail-lightsWhat colour is your tail/brake light? Red I’d hope…. or is it really? Take the Capo’s lens cover off and it’s just a pair of common old yellowish 5/21W incandescent bulbs, the red is of course provided by the light passing through the red lens. In fact since time immemorial the only way simple incandescent bulbs were coloured was either by a coloured cover or380 60 LED bulb being dipped in a coloured dye. Why? Simply that the humble incandescent bulb fires out light at all different wavelengths from infra-red to ultraviolet, so a simple filter is all that’s needed to allow the required wavelengths to pass through.

Now of course we have LED’s…. and these little puppies don’t work the same way. A red LED will generate light in the 610-760nm wavelength – red …… a blue LED in the 450-500nm wavelength, you’ve guessed it – blue! But what about white LED’s? Well they produce red, blue and green light BUT they are dominant in the blue wavelengths and actually very poor emitters in the red – the very colour we need for our taillight!

So here’s the next question….. Do you change out your ‘so yesterday’ incandescent tail/stop bulbs with ultra-trick, smack-up-to-date LED’s? And if so red or white? Well here are a couple of photographs that I hope will help with that dilemma.

Using my old but trusty Nikon D200 I took the first picture with the Capo tail light and an LED torch for comparison. The second picture is exactly the same except this time I added an infra-red filter to the camera. Now the camera is only picking up light in the red wavelengths ……… look at the torch, I think you’ll agree that in the 2nd picture the torch is most certainly dimmer than the two puny 5w tail bulbs, yet overpowering in the 1st photo – quite a dramatic difference me thinks!

Now OK, this is just a torch not a pukka LED tail/stop bulb, and yes I concede that not all white LED’s will output the same amount of red light – but how do you KNOW what the output of that bulb you’re eyeing up on Fleabay really is?

Bottom line?

Don’t fit white LED tail bulbs into the Capo, stick with ordinary bulbs. Bummer on the power-drain, but better on the safety side – nobody likes a rear-end shunt……..

…….but what about the red LED version? Stay tuned for next weeks thrilling roller-coaster episode – ‘On the right wavelength (part 2)’.  😉

Caveat: Using LED tail/stop bulbs on the Caponord in the UK is illegal and as such karlb/moto-abruzzo cannot condone their use. They don’t carry an approval marking nor do they meet the brake light power requirements (15-36w) as set down in the The Road Vehicles Lighting Regulations 1989′ ….round in a circle we go …. the very thing we’re trying to save (power) it turns out we can’t!!

ACIM (Aprilia Caponord International Meeting) VI – 2014

Aprilia Caponord International Meeting 2014 - San MarinoAfter thrashing out our diaries for 2014, Jan and I have managed to keep the 11-13th of July free for  ACIM VI 2014 – held this year in San Marino (Italy) …… and so the registration has been duly submitted to the organisers. 😀 😀

So we’re looking forward to plenty of pics, video, laughs and good conversation over the weekend in a spectacular part of Italy. We really hope to meet up with some of you over the weekend and finally put a face to a name!

Tax-idermy … the art of being stuffed

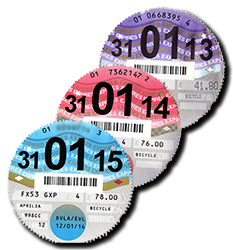
UK tax disksLet me tell you a little story …. Back in 06 I bought an ST1300 and a couple of weeks later while out with students, I got pulled over by Mr Grumpy the police officer with a charisma bypass. It seemed that his ANPR (Automatic Number Plate Recognition) had flagged my bike as not having a valid tax disk. So I pointed it out to him – nice and readable on the front fork leg. He wasn’t interested because “The computer says ………”
The nice lady at the DVLA office (now closed) in Oxford verified it was genuine and that it was all just a silly computer error – that cost me time and fuel to go and sort out, not to mention the embarrassment of being pulled over in front of paying students!

Now the same government will be doing away with the printed tax disk in October, no doubt sucking up the extra millions it saves on printing and distribution. Oh of course we’ll get a receipt when we pay, one that we now have to print out ourselves at our own expense and presumably carry around with us just in case we come across ANPR wielding cyber-cop again …. and would he believe you anyway, because “The computer says ……..”

And let’s not forget one thing, this is the very same government department that shoved its collective fingers in its ears and hummed the la-la song in total denial that they were losing the motorcycle entitlement off licenses being returned for address changes etc. Only when this involved some folks with impeccable and verifiable backgrounds (police/paramedic & motorcycle instructors) were they shoved far enough into a corner to have to admit (begrudgingly) that maybe, possibly they were in the wrong …. but “The computer says …….”

So next time you get pulled by an ANPR wielding digital-do-gooder it’s you against the creaky-leaky government database and you know who’s side Robocop is on.

“The computer says ……”

Almost made it to 100K Km

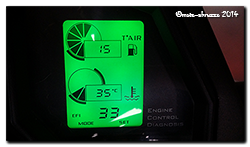
Code 33 - front coilYesterday was a great day, warm and a smooth running Capo to zip about on …… not so today, no siree Bob. Started her up this morning and that dreaded little EFI light started flashing away. Front coil #1 (code 33) had shuffled off to the great coil playground in the sky.

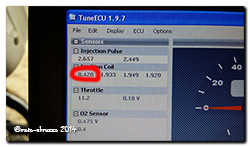
Before swapping it out, I plugged TuneECU in to get a screenshot of the dwell – reading 0.420 in the picture – definitely dead as a Dodo. Not to worry though, a spare was on the Coil #1 reading 0.420 ...... deader than a dead thing.shelf and an hour later the job was well and truly jobbed. Just two things to mention really ….. one, changing that rubber sleeve is a right pain in the proverbial and two, getting the HT lead onto the Amrish coils is even harder! Note to self …. make sure the next spare coil on the shelf is already fitted into a sleeve and has a HT lead attached, that’ll save at least 15 minutes and a book full of swear words! So after 92,413Km the second Sagem coil has been replaced, the first went a couple of years ago, so will the last two make it to the big 100K Km?

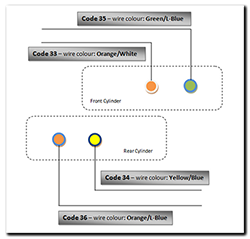
Here’s a graphic I keep (laminated) on top of the airbox lid – it just makes it easier to locate the right coil without consulting the manuals. Click for a bigger version.

Coil location, colour and numbering

New ‘Lockwood’ inlay fitted at last

Right indicator repeaterOn 4th February Jan came back home with a suitcase fair groaning with all manner of goodies. The most eagerly awaited though, was the pair of new inlays from Lockwood International Ltd. So first impressions?

Excellent! From the textured material to the bleed-free printing, from the fit to the light-transmission …. everything was exactly as I’d hoped. The first thing I did was pop one onto a waiting chassis/board and turn on the lighting – did the text and colour match the light channels? Again, perfectly. Now I could relax, prepare the new chassis and get ready to fit one permanently to the dashboard. To fix it in place I decided to use a general-purpose spray adhesive and did a trial run on an old chassis/inlay to make sure it would be suitable. Everything seemed fine and it was certainly good experience to do a dummy run.

Making sure the chassis was grease and dust free was essential, then masking off the light-channels, mounting pegs and anywhere else I didn’t want spray glue to go! A couple of thin coats of adhesive were applied and the inlay fitted 10 minutes later to allow time for the solvents to evaporate. Perfect! It was now ready to be fitted to the circuit board, but first a couple of modifications to the board/processor circuits.

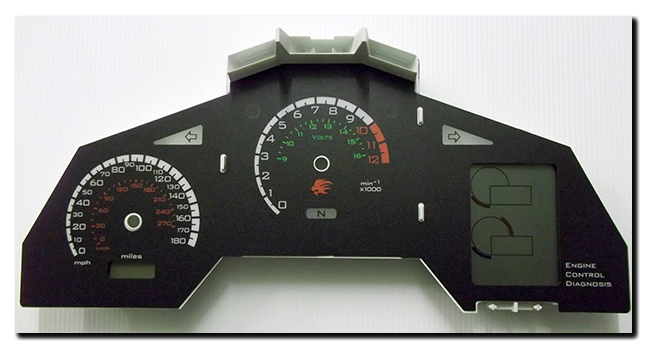
First the eeprom file needed to be updated for the Futura speedo/tacho, then the code in the microcontroller needed updating for the different (voltmeter) needle calibration. At the same time a couple of modifications were made to the circuits based on insights I’d picked up about Arduino boards from the Internet, also the auto-dimming circuit was finally added for the variable back-lighting, a bit of tweaking with the code – and it was all ready to be refitted to the Capo.

So there I was …. on a wind-swept but warm Sunday morning, dashboard in hand and about to see the fruits of a few months work finally come together on the bike. No doubt the code for the auto-dimming will need fine-tuning, but that can be done without removing the dashboard again – and that’s the line in the sand, right there. Once fitted, I shouldn’t have to remove them again anytime soon …. and that’s a great feeling!

I think that about now would be a great time to pause and say thanks to a few folks who have helped me keep the momentum in this little project. Firstly Jan for her patience and for lugging stuff across the continent for me, to Andy (beasthonda) for bouncing ideas around with me and his interest in the project, to Arvdee in the USA without who’s generous donation of a Futura inlay I wouldn’t have had a template.  Last but not least, Clive from Lockwood International for putting the proverbial icing on the cake – thank you all!!!! 😀

Multitec, Neotec … what the heck!

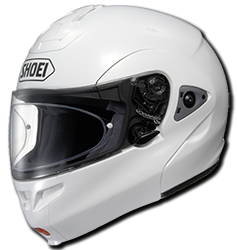
Shoei MultitecAfter 8 years the Shoei Multitec is no-more …. Well in truth, more like eased out to pasture rather than to the knacker’s yard. I could wax lyrical all day about how good this helmet is, but what for? Rave reviews and testimonials abound on the internet.

Back in 2006 after an abysmal acquaintance with a Shuberth C1-Concept, the Multitec was a breath of fresh air and for the first few years it was in constant use as my No1 motorcycle-Instructing helmet, fitted of course with the ubiquitous Autocom noise-cancelling headset that matched perfectly. By my Excel spreadsheet (diary), since then we’ve covered a little over 150k+ miles together – and that’s not a bad life-span for a lid! Ok it’s collected a couple of scratches along the way, mostly around the shield release button, but it still fits well enough and a new whisper-kit and visor from Jim at AMI will have it looking as good as new again as it takes on its new part-time role of GoPro camera mount!

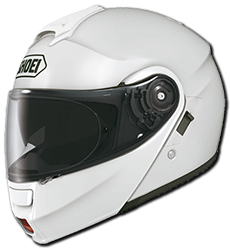
NeotecBut the fact of the matter is, it has now been replaced …… by a Shoei Neotec. This is a wonderful gift from my loving wife Janet for my 51st birthday and I’m as pleased as punch, its brilliant – Cheers Jan!!! The experience of the Multitec meant that its replacement would inevitably be a Shoei; the decision was whether it would be a direct replacement with another Multitec or go for the ‘new’ Neotec. In the end, trying to find a Multitec in the right colour/size proved too problematic*, plus they would probably be old stock by now and as such may have a shorter warranty – Shoei say 7 years from date of manufacture or 5 from date of purchase whichever is the shorter. So after scouring the internet for New-Year bargains, a Neotec in white/medium was ordered from automotoracing.com. From order to delivery in Italy was only 4 days – excellent price & service. Unfortunately the dismal weather we’re having has made it hard to get a good ride-out with it! Having said that, even the few short rides tell me that it was the right choice – think of it this way,  rather than a new piece of kit, more an old friend with an impressive make-over!
Now if the incessant rain, land-slides and generally dismal start to 2014 would just toddle off for a bit ……………

*Although shown on the European website, the Multitec is not in the 2014 Shoei catalogue.

Moving along nicely

Just got this photo from Clive over at Lockwood International in the UK, the nice folks who have made my new inlays for the Caponord dashboard. I’ll write more when they arrive …… I can’t wait!!

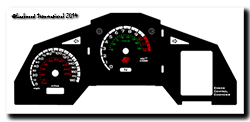
RST Futura based inlay with voltmeter and left/right indicator repeaters

  • Back-lit voltmeter within the tachometer
  • Left & Right indicator repeaters
  • Red-line raised to 10,000rpm to match ECU setting
  • Side-stand lamp is now where the unused ABS lamp was
  • Funky Aprilia lion instead of boring old ‘aprilia’ text
  • ‘magneti marelli’ logo removed …. well they didn’t design this one!

Reading the current situation

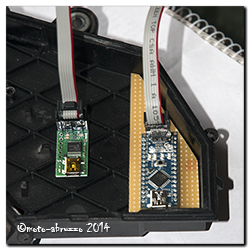
©Lockwood International 2014 - UK Futura inlay with voltmeter, L&R indicators and sidestand lightWith the new inlay nearly complete and sufficient testing of the modified dashboard to prove its reliability in day-to-day use, it’s now time to move on and complete the next stage of miniaturising the circuit board. The big grey box and wiring loom holding the Arduino Uno stays for the time being, but now it will house the smaller circuit board and Arduino Nano. Once thoroughly tested, the box and loom will disappear as the board finally gets mounted inside the case.

Aduino Nano and Pololu 1300 programmerThis time around the microcontroller will be programmed differently to speed up the start time and free up more memory space. For that I’m using a Pololu 1300 programming device ….. Something I’ve never done before, let’s hope I don’t fry it! If all goes well, that then leaves me an Arduino Uno spare and it would be rude not to find another Caponord related little job for it! So here’s the next project…..

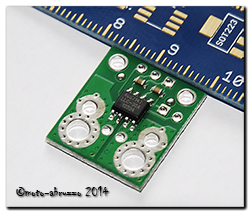
I’ll be installing the Uno and three of these naughty little puppies along with and LCD screen into the redundant grey case. Self-powered, it will measure current flow through the 30A rec/reg fuse and the two main 30A fuses simultaneously. The screen will Pololu ACS714then display measured and calculated data as well as storing the data onto an SD card mounted into the display. So it’ll be a data-logger as well!

The idea is to have the three ACS714 devices, wiring loom and a single multi-pole connector under the saddle. The unit will then simply plug into the connector and merrily measure away. A decent battery and memory card should make data logging for 2hrs + pretty straight forward. So watch this space ………