 UPDATED November 2016 – Scroll to the bottom of the page.
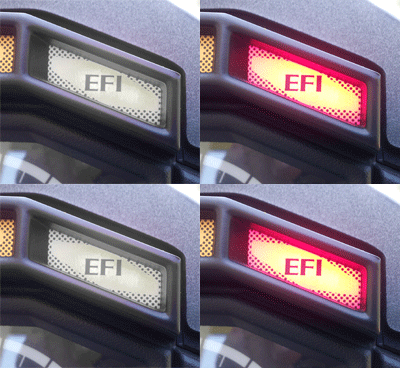
The EFI light was flashing but the bike was idling ok, or at least sounded fine to my ears. I shut it down and restarted it – EFI light was still flashing. OK, so shut down again and connect the service plug/socket and try again. After about 15 seconds a ’36’ was shown where the clock used to be – the ECU has thrown a fault code.
A code 36 is the rear cylinder outside plug. So off with the seats and I swap the rear coils over and try again. If the code remains the same, then I’d have to suspect the wiring from the ECU, if it changes it’s the coil/HT lead.
It’s changed to Code 34.
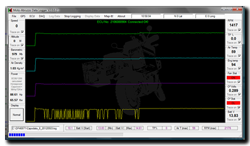 That proves it, a bad coil/lead. Just to confirm it I used the ‘Moto-Logger‘ software to monitor the dwell from the ECU. As you can see from the screen-shot, one of the coils is intermittent in operation. If you use TuneECU you can see the same thing by monitoring the dwell readouts in the diagnostic screen. Every so often the coil readout would drop to 0.42 indicating a coil failure.
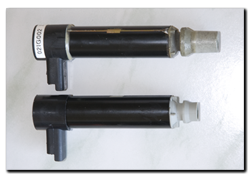 So I bought a new ‘Amrish’ coil from EBay, these have been available for a couple of years now and seem no less reliable than the later JCI coils fitted as standard from 2006 onward. They differ slightly in that the end insulator is a different shape (lower coil in the pic on the left) and won’t comfortably take the original HT lead …… no problem as you are
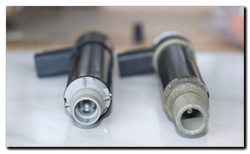 given a new bespoke lead with the coil. Fitting it however is NOT easy!
After swapping over the rubber sleeve to the new coil, it’s now time to fit the lead. The recommended method is to peel the cap away from the metal connector so a pair of long-nose pliers can be used to push the connector down into place. It takes A LOT of pressure – more than I’m really comfortable with, but it does work. Once it’s clicked into place, slide the HT lead cover back into place – I trimmed a little of the lower-rubber as it gets compressed and deformed by the HT connector once it’s clicked in place. I then tie-wrapped both rubber sections and the LT connector for good measure.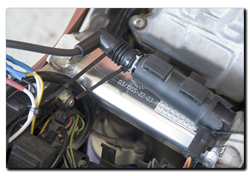
Once back in place, the fault codes were cleared by TuneECU and the engine started. Both TuneECU and Moto-Logger showed four healthy HT systems and the Capo seems to come off idle more cleanly than before.
November 2016
With the demise of one of the last two remaining Sagem coils, I decided to retire them both. Unfortunately since June 2012 the price of TechAuto (Amrish) coils has sky-rocketed and although these coils have worked just fine, I never liked the quality of the HT leads or the connection to the coil. I’d be happier if the supplied the coil on its own and dropped the price accordingly. This time I went a different route.
The first coil was replaced on 02/05/2012 and had covered 88,024 miles, the second was replaced on 11/02/2014 and had covered 54,114 miles. Both coils have now been replaced along with the Sagem. While the front (lower mileage) coil had fared just fine, the rear coil had unfortunately developed a very loose HT connection as arcing had eaten away quite a bit of the coil electrode. This was simply down to the poor fit of the supplied HT lead connection. Although this coil/lead appeared to be working, I can only assume by its condition that failure was only just around the corner!
This coil has been scrapped along with the Sagem. The other TechAuto coil has been bagged up as a viable spare while the last remaining working Sagem is to get pride of place on the workshop wall for doing such a stirling job for all these years and miles!


